Essential oil label templates! Do you know how important it is to have good labels on your essential oil bottles? Well, it’s super important! That’s where essential oil label templates come into play.
How to use these label templates for your essential oils? It’s not just about making the labels look pretty. We want to make sure they have all the right info and look the same each time you make them. This way, your oils will not only look great but also professional.
It is a way to make sure your essential oil bottles have labels that are easy to read and understand. They help your bottles stand out and let everyone know all about your wonderful oils. So, let’s start learning how to create awesome labels for your essential oils!
Benefits of using essential oil label template
Using templates for your essential oil labels is like having a super tool in your kit. They help share all kinds of important stuff. The benefits of using:
Informative Labels: Telling Your Oil’s Story
- Know What’s Inside: Labels can tell you what ingredients are in the oil, just like a recipe tells you what’s in a cake.
- Discover the Scent: They help you know what the oil smells like without having to open the bottle. It’s like smelling a flower by just looking at a picture of it.
- How to Use: The labels give instructions on how to use the oil safely. It’s like having a guide that tells you how to play a new game.
Safety First: Keeping Everyone Safe
- Warning Signs: Safety warnings on labels are super important. They’re like stop signs on the road, telling you what not to do.
- Using It Right: The labels can also include the best ways to use the oil so you can enjoy it safely. It’s like having instructions for a new toy.
Making Smart Choices: Helping Customers Decide
- Pick the Best: With all the info on the label, customers can choose the right oil for what they need. It’s like picking the best apple from a basket.
- Trust and Confidence: When people understand what they’re buying, they feel better about their choice. It’s like knowing you’ve picked the best birthday present for your friend.
Using label templates for your essential oils gives your customers all the info they need. This helps them feel safe and happy with their choices!
Looking at the Challenges with Label Templates
These are disadvantages:
- Lack of Originality
- What’s the Issue?: If everyone uses the same templates, all the labels might start to look the same.
- Why It Matters: For your essential oil brand to stand out, you need a label that’s unique, like a one-of-a-kind drawing.
- Limited Flexibility
- What’s the Issue?: Sometimes, templates might not fit exactly what you need. Maybe you have more information to add or a different bottle size.
- Why It Matters: Your label needs to fit your bottle perfectly and have all the important info your customers need.
- Generic Design Elements
- What’s the Issue?: Templates often come with basic designs. This can make your labels look plain, like a blank coloring page.
- Why It Matters: You want your essential oil labels to look beautiful and catch people’s eyes.
- Potential Brand Confusion
- What’s the Issue?: If your labels look similar to others, customers might get confused.
- Why It Matters: You want your customers to recognize your brand easily.
Overcoming These Challenges
Even with these downsides, you can still make awesome labels! Here are some tips:
- Add Personal Touches: Use the template as a starting point, then add your own colors, fonts, and designs.
- Tailor to Your Needs: Adjust the template to fit exactly what you need – whether it’s more space for text or a different shape.
- Stand Out: Include something unique about your brand.
Essential Oil Label Template Free
An essential oil label template can be used by anyone who wants to create labels for their products.
It gives you a starting point to make your labels. This helps keep all your labels looking the same, which is important for your brand.
Labels are the first thing customers see, so they need to look good and have all the right information. Using a template makes it easier to make new labels later on and helps keep everything consistent.
Labels are very important in the essential oil industry. They not only need to be pretty but also need to tell customers about the oil and how to use it. A good template helps make sure all your labels are the same, which is great for your business.
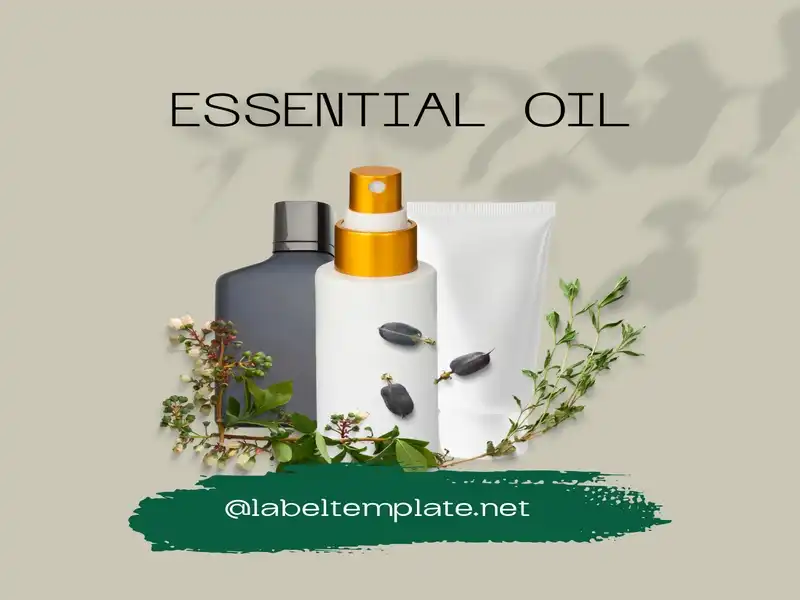
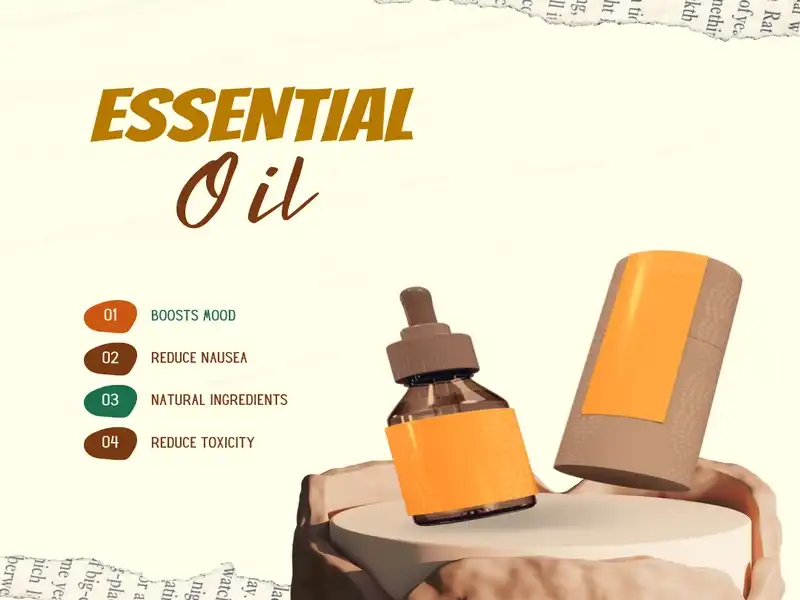
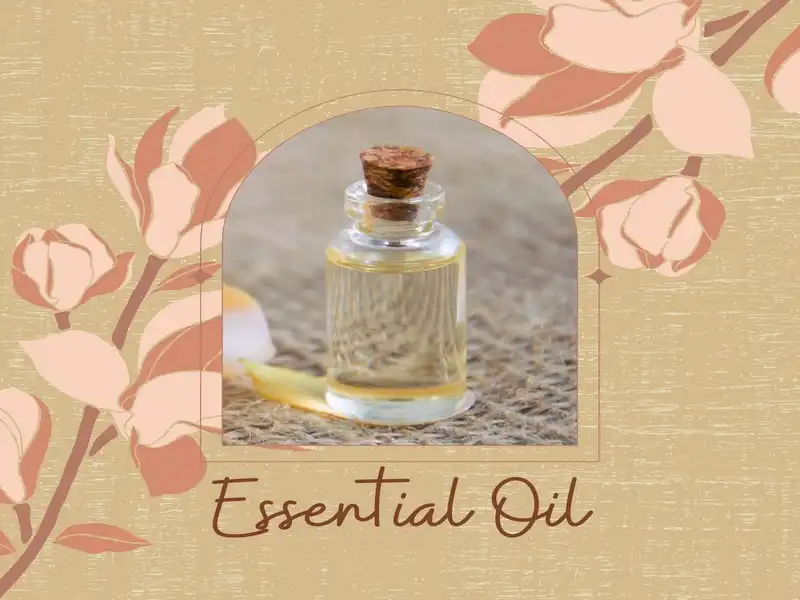
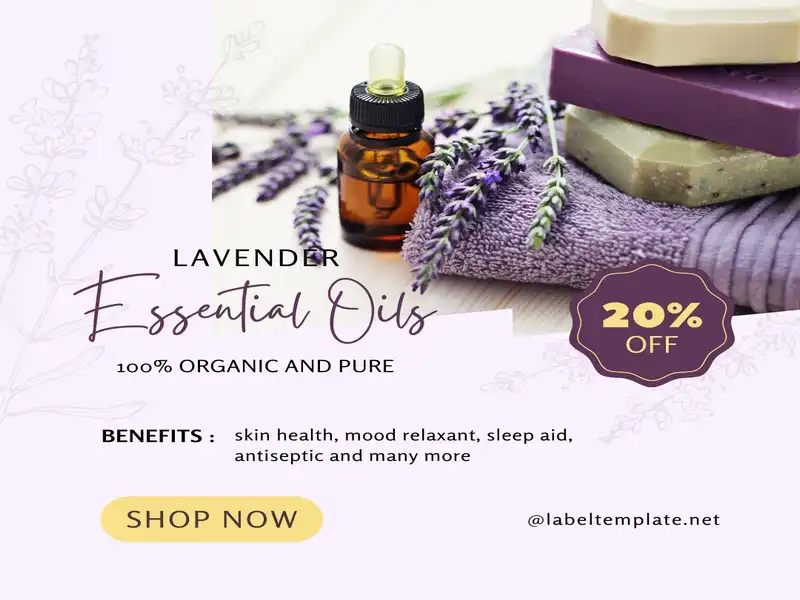
Tips for creating an essential oil label template
Creating a label for your essential oil is like drawing a treasure map. It needs to be clear, informative, and attractive. Let’s dive into how you can make your label both useful and beautiful!
Key Details to Include:
- Brand Name: Make sure your brand name is easy to see.
- Purpose of the Product: Tell people what your oil is for. Is it for relaxation? For making a room smell nice?
- How to Use It: Give simple instructions. make it easy to understand.
- Ingredients List: List what’s inside. People want to know what they’re using.
- Warning Info: If there are things to be careful about.
Design Considerations:
- Choosing Fonts: Pick a font that’s easy to read.
- Color Contrasts: Use colors that stand out but look good together.
- Background Choices: A simple background makes your text pop.
Adding Important Disclaimers
- Legal Stuff: If you’re not a doctor or a licensed practitioner, you need to say so.
- FDA Guidelines: Follow the rules about what you can and can’t say on your label.
Creating your essential oil label is an important part of sharing your product with the world. Make it informative, make it pretty, and make sure it follows the rules!
What are the components?
A label is a piece of paper, plastic, or metal attached to the outside of a product. Labels are used to identify products and give information about them.
Labels can contain many different types of information. This can include:
- Product identification
- Instructions for use
- Safety warnings
- Ingredients list
- Country of origin
- Expiration date or best before date
What are the requirements for labeling essential oils?
The United States Department of Agriculture (USDA) regulates the labeling of most essential oils. The USDA requires that all labels include an International Organization for Standardization (ISO) number, a list of ingredients, and possible hazards.
When you make labels for essential oils, it’s important to follow certain rules. These rules make sure that everyone knows what’s in the oils and how to use them safely.
The following are some examples of essential oil label requirements:
USDA’s Rules for Essential Oil Labels
- ISO Numbers: ISO numbers are like IDs for essential oils. They tell you exactly what kind of oil is in the bottle.
- Ingredients List: You have to list what’s in the oil. This list goes from what there is the most of to what there is the least of.
How to List Ingredients Correctly
- Order Matters: Start with the ingredient you have the most of and end with the one you have the least of.
- Be Clear: Use names for the ingredients that most people know.
- All Ingredients: Make sure to list every single thing that’s in the oil.
Safety Acts and Regulations:
- Federal Hazardous Substances Act (FHSA): This law requires labels to list any dangers and first-aid tips.
- Poison Prevention Packaging Act (PPPA): It makes sure the packaging is safe for kids.
- Fair Packaging and Labeling Act (FPLA): This one says you must put the product’s identity, who made it, and how much is inside on the label.
What are the dimensions for the essential oil label template?
The size of the label will depend on what kind of container you are using. For example, if you are using a roll-on bottle, your label should be 0.75″ in diameter and 2″ in height. If you’re using a dropper bottle, your label should be 1″ in diameter and 3″ in height.
Each bottle type needs a label that fits well. Here’s how to match label sizes with different containers:
Understanding Label Dimensions
- Why Size Matters: The right size label makes sure all your important info fits and looks good. It’s like making sure a puzzle piece fits perfectly in its spot.
Examples for Different Bottle Types
- Small Roller Bottles (10ml):
- Size Needed: These tiny bottles are great for personal use. A label around 2 inches wide and 1 inch high usually works well. It’s like a small name tag for your bottle.
- Standard Dropper Bottles (15ml to 30ml):
- Size Needed: For these common sizes, a label about 2.5 inches wide and 1.5 inches high is typically a good fit. Think of it like a tiny book cover for your oil.
- Larger Bottles (100ml and Up):
- Size Needed: Bigger bottles need bigger labels. Something around 3 to 4 inches wide and 2 inches high should cover it. It’s like a small poster showing off your oil.
- Spray Bottles:
- Size Needed: Depending on the bottle’s height, you might go for a taller label, like 3 inches high and 2 inches wide. This is like a mini-banner for your product.
Measuring for Accuracy
- How to Measure: Use a ruler or a tape measure to get the size of your bottle where you want the label. It’s like measuring your hand before buying a glove.
Tips for Label Sizing
- Leave Some Space: Don’t make your label so big that it wraps all the way around the bottle. Leave a little space. It’s like leaving room for dessert after a big meal.
- Check the Curvature: If your bottle is very curved, consider a slightly smaller label so it sticks well without wrinkling.
Getting the dimensions right for your essential oil labels can make a big difference. It ensures that your labels not only fit well but also look professional and attractive.
What are the top essential oil labels in the industry?
These brands are liked by lots of people because they make good quality oils. Here are some of the best ones:
- Young Living: This brand has been around since 1993. They are known for making their oils in a special way called “Seed to Seal.” They have many different kinds of oils and things for personal care. But, their prices are usually higher.
- doTERRA: This brand started in 2008. They are also very popular and have a special way of making sure their oils are really good, called Certified Pure Therapeutic Grade®. They sell many wellness products and also use a way of selling like Young Living.
- Rocky Mountain Oils: This brand has lots of different oils, including some that are organic and safe for kids. They care about the environment and even have a program to recycle bottles.
- Vitruvi: This brand is stylish and makes essential oils, humidifiers, and things to make your home smell nice. Their products are natural, not tested on animals, and vegan.
- Edens Garden: They offer more than 250 different oils and blends. Their oils come from good places and are made in a way that is good for the earth. They don’t use fake scents or other bad stuff in their oils.
These brands are special because they make sure their oils are good, pure, and come in different types for what people need.
How can you design a label for an essential oil?
Here’s how you can make a label that not only looks great but also shares all the right info:
Step 1: Plan Your Content
- What to Include: Think about the important stuff your label needs. This includes your brand name, what the oil is used for, how to use it safely, the ingredients, and any warnings. It’s like packing a suitcase – make sure you have all the essentials.
Step 2: Pick a Style
- Design Theme: Choose a style or theme for your label. This could match the scent of the oil or the feeling you want it to give.
- Colors: Use colors that go well with your brand and the oil’s purpose. Bright, energetic colors might be great for a citrus scent, while calming blues or greens could be perfect for a relaxation blend.
Step 3: Layout Your Label
- Arrange Your Info: Place your brand name and product name where they’re easy to see. Then fit in the other details neatly around them. It’s like setting up a display in a store window.
- Readable Fonts: Choose fonts that are easy to read but also fit your style. If your brand is fun and playful, a more casual font might work. For a more elegant oil, a fancier font could be better.
Step 4: Add Visuals
- Images or Graphics: Consider adding a small picture or a decorative element that represents the scent or use of the oil. It’s like putting a cherry on top of a cake – it makes it more inviting.
Step 5: Include Legal Must-Haves
- Disclaimers and Warnings: If needed, add any disclaimers or warnings. This is important to make sure you’re sharing safe and legal information. It’s like putting safety instructions in a toy box.
Step 6: Print a Test Label
- Check Your Design: Before you print a bunch of labels, print one to see how it looks on the bottle. This is like trying a sample before buying the whole thing.
Designing your essential oil label is a fun and creative process. It lets you share the story of your oil and your brand with the world in a way that’s both beautiful and informative.


