Organizing toys can be a challenging task, both for kids and parents. Free printable toy labels are one of the best ways to collect toys and make cleaning up enjoyable. These labels help keep toys in order and add an element of education and fun to the process. Let’s dive into the world of printable toy labels and see how they can transform how we organize play areas.
Benefits of Using Free Printable Toy Labels
- Easy Identification: With labels, kids can easily identify where each toy belongs.
- Educational: Labels can be designed with words and pictures, making them a great tool for teaching children to read and recognize different items.
- Customization: Printable labels can be customized according to your child’s needs and toys.
- Time-Saving: They make tidying up quicker and more efficient, as everything has a designated spot.
Creating Your Toy Labels
- Choose Your Design: You can create labels with fun fonts, bright colors, and images that appeal to kids. Popular themes include animals, cartoon characters, or simple shapes and colors for younger children.
- Label Categories: Decide on the categories for your labels. They can be based on the type of toy (e.g., cars, dolls, puzzles) or even by size or color.
- Software for Designing: Use simple graphic design software or online tools like Canva or Adobe Spark to design your labels. Many websites also offer free printable toy label templates.
- Printing Your Labels: Print the labels once you’re happy with the design. Use sturdy paper or laminate them for durability.
- Attaching the Labels: Attach the labels to bins, shelves, or toy boxes using tape or adhesive. Ensure they are at a height where your child can easily see them.
Incorporating Toy Labels into Learning
- Sorting Games: Use the labels to create a game of sorting toys. This helps children learn categorization and organization.
- Language Development: For bilingual families, labels can be in two languages, aiding language development and vocabulary building.
- Responsibility and Independence: Encourage kids to take responsibility for their toys by using the labels as a guide for clean-up time.
Tips for Effective Toy Labeling
- Involve Your Child: Let your child be a part of the labeling process.
- Regular Updates: As your child grows and their toy collection changes, update the labels to reflect new interests and developmental stages.
- Keep It Simple: Don’t overcrowd labels with too much information. Simple and clear labels are more effective.
- Visibility: Place labels where they are easily visible and accessible to children.
Different Kinds of Toy Labels
Toy labels come in many types. Each kind has its cool use. Here’s a look at the different types:
Educational Labels
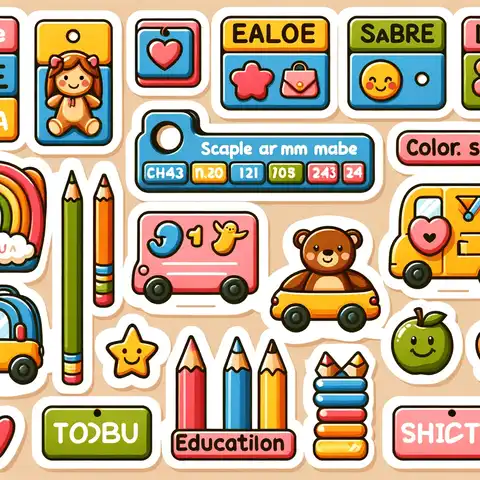
These have names and pictures on them. Sometimes, they also show colors, shapes, or numbers.
Themed Labels
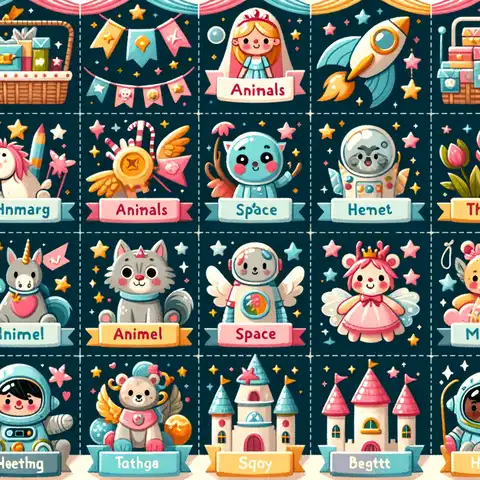
are about themes like animals, space, or fairy tales.
Color-Coded Labels
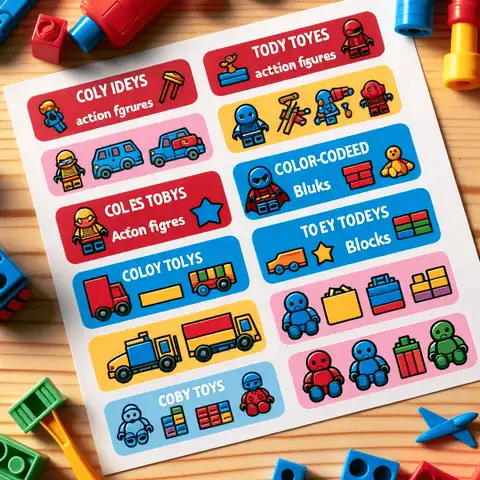
These use different colors for toys, like red for action figures and blue for blocks.
Age-Appropriate Labels
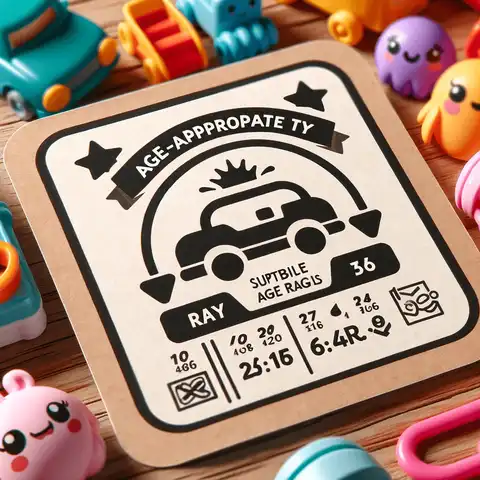
These tell you what age a toy is good for. This helps keep younger kids from playing with toys meant for older kids.
Interactive Labels
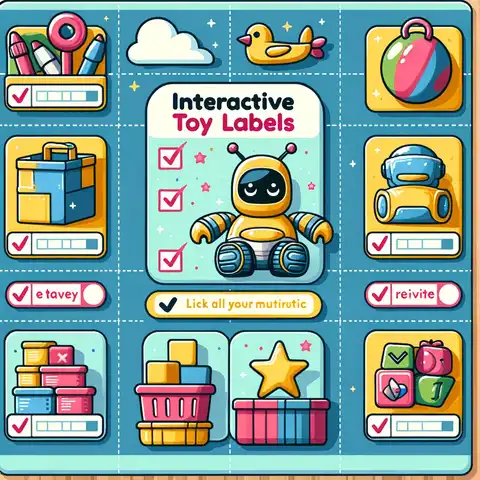
Some labels have fun things like checkboxes. Kids can mark them when they put toys away.
DIY Labels
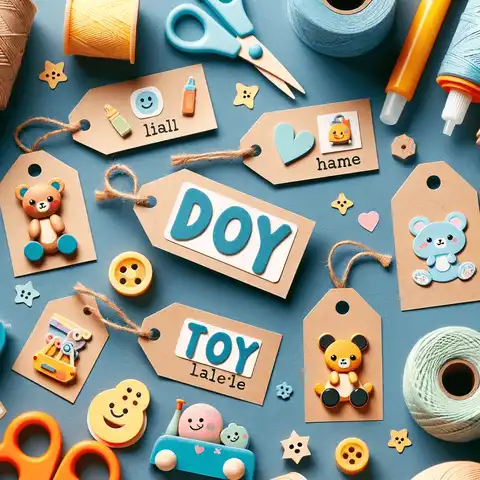
You can make these at home with craft stuff.
Dry-Erase Labels
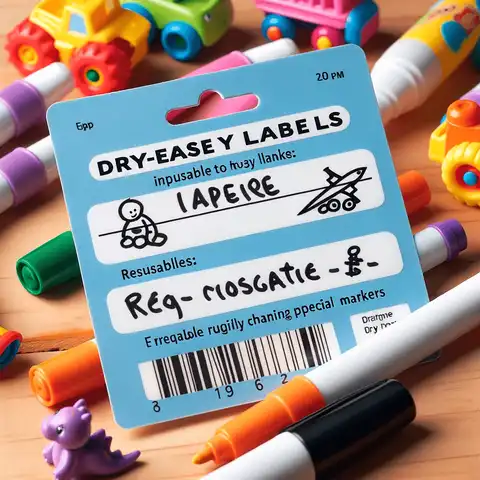
You can write on these repeatedly with special markers. They’re perfect if you change your toys a lot.
Texture Labels
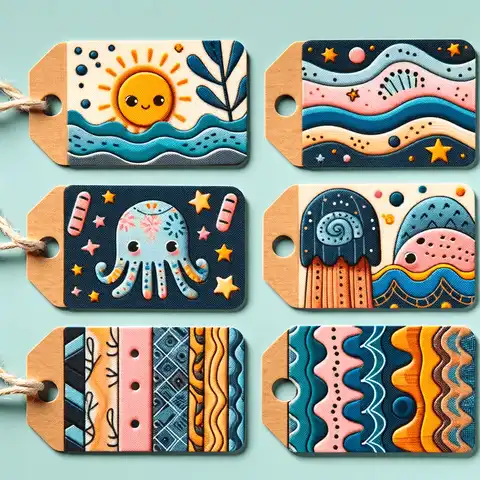
These labels have different textures for toys you feel with your hands. They are really good for sensory play.
Bilingual Labels
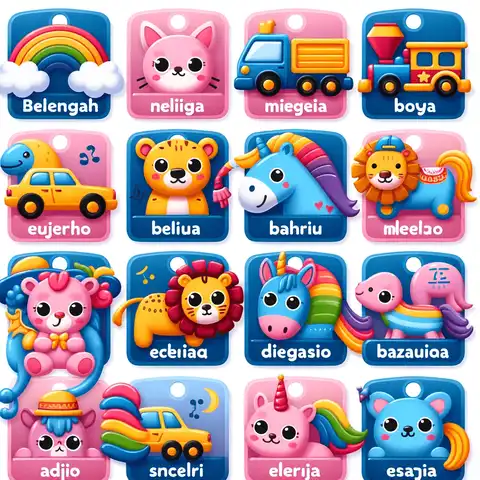
These have toy names in more than one language.
Personalized Labels
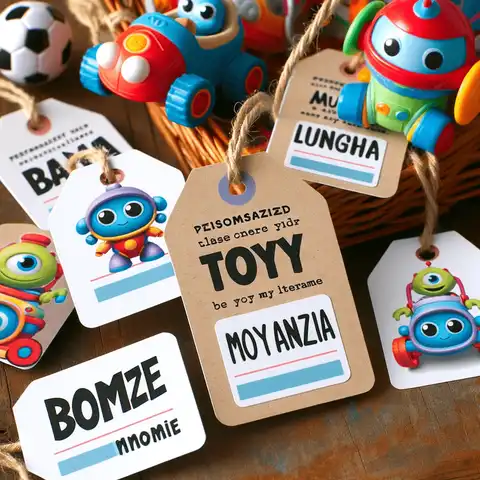
These have your child’s name or things they like.
Safety Warning Labels
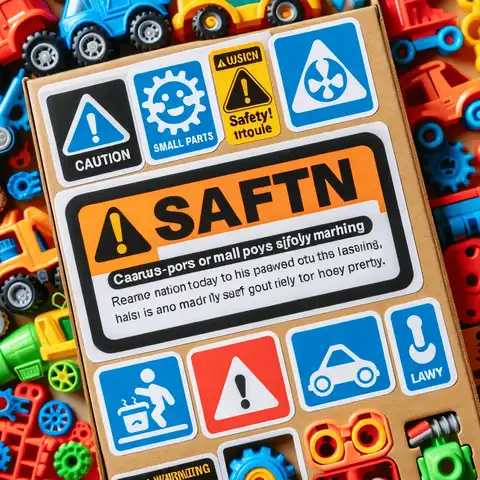
These are important for toys with small parts.
Printable Labels
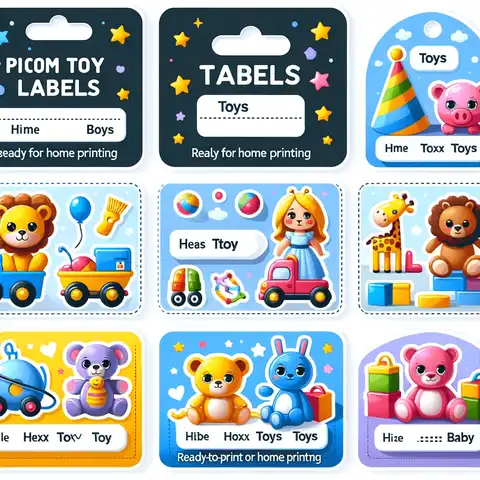
You can print these at home. You can make them just how you like and then print them out.
Each type of toy label helps in different ways. They can be for learning, fun, or keeping safe. No matter why you need them, these labels are great for any playroom.
What to Include on Toy Labels
When creating toy labels, it’s important to include functional and appealing elements to children. Here’s a guide on what to have on toy labels:
- Toy Category or Name: Clearly label the toy category, like “Blocks,” “Dolls,” or “Cars.” For individual toys, use specific names, especially for educational or special toys.
- Pictures or Icons: Include a picture or icon representing the toy category—for example, a car image for a box of toy cars.
- Color Coding: Use different colors for different categories. This not only makes the labels attractive but also helps in the quick identification and sorting of toys.
- Font Style: Choose a font that is clear and easy to read. Fun fonts are okay as long as they’re legible. Large letters are helpful for young children who are just learning to read.
- Durability: Make sure the labels are durable and can withstand handling by kids. Laminating the labels or using sturdy label paper is a good idea.
- Size of Labels: The labels should be appropriately sized for the storage bins or shelves where they will be placed.
- Bilingual Options: If you teach your child another language, you can write the toy type in both languages.
- Safety Information: If needed, put safety info on the label.
- Interactive Elements: Add cool things like checkboxes for putting toys away or stars for doing a good job.
- Personal Touch: Let your child help make the labels or color them in.
Including these things on your toy labels can help keep toys in order and make cleaning up fun for your kids.
Free printable toy labels offer a fun, interactive, and educational way to organize children’s play areas. They encourage learning responsibility and can be a creative activity for parents and children.
You turn the often tedious cleaning task into an engaging and educational experience for your child. The key to effective organization with kids is making it as fun and interactive as possible!
FAQs about Printable Toy Labels
Can I make waterproof toy labels?
You can make your toy labels waterproof by laminating them or using waterproof label sheets available in most stationery stores. This is especially useful for toys used outdoors or in wet conditions.
What’s the best way to attach labels to fabric toy bins?
For fabric bins, the best options are sew-on labels, iron-on labels, or using safety pins to attach laminated labels. Velcro strips can also be a good alternative.
How often should you update the labels?
It depends on your child’s age and interests. Generally, updating the labels once a year or during a significant change in the toy collection is a good practice.
Are there any eco-friendly options for toy labels?
You can use recycled paper for printing labels and opt for biodegradable laminating sheets. Additionally, consider reusing old materials like fabric scraps for creating labels.
Can toy labels help my child learn other languages?
You can print labels in different languages to introduce your child to new words and phrases. This is a fun and interactive way to support language learning.
What if my child can’t read yet?
For children who are pre-readers, use labels with clear and simple pictures representing the toy category. This helps them understand where to put their toys even if they can’t read the words.
How can I get my child involved in the label-making process?
You can let your child choose the colors and pictures or even help them write the names if they can. This involvement can make them more excited about using the labels.
Are printable toy labels durable?
Yes, especially if you laminate them or use durable paper. They can withstand regular use by children and can be easily replaced if needed.


